Updated App Version in the download section.
Only some bugfixes for running with OpenJDK, when you are using Oracle Java there is no need to update.
Updated App Version in the download section.
Only some bugfixes for running with OpenJDK, when you are using Oracle Java there is no need to update.

I added the option to erase a complete disk, this will fill the entire disk with 4µs (2µs for HD media) flux transitions. The is also an option to pre erase while writing an image or formatting a disk. This helps when overwriting older or non-amiga formatted disks. Also all write operations should perform faster now.
This new version requires the latest ADF-Drive firmware.
You can find both in the Download section.
Just Bugfixes to make it compatible to OpenJDK. No other changes, if you use Oracle Java there is no need to update.
New Version available, some new features.
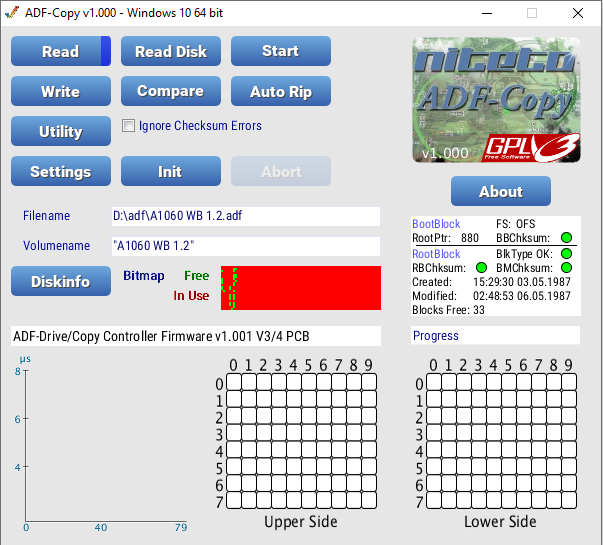
I updated the Interface of the Frontend Application to be more logical and impleted some new features:

All-in-One Version for Windows (XP, Vista, 7, 8, 10), Linux, Raspberry Pi
New Features:
– more detailed diskinfo and used blocks
– format disk, format several disks
– changing drive timings for larger compatibility woth older drives, mtp mode on/off, number of retries and saving them to EEPROM
– compare disk to adf file.
– graphical overhaul of interface
– bugfixes of v1.001
The new Frontend requires a new firmware so make sure you update your firmware too.
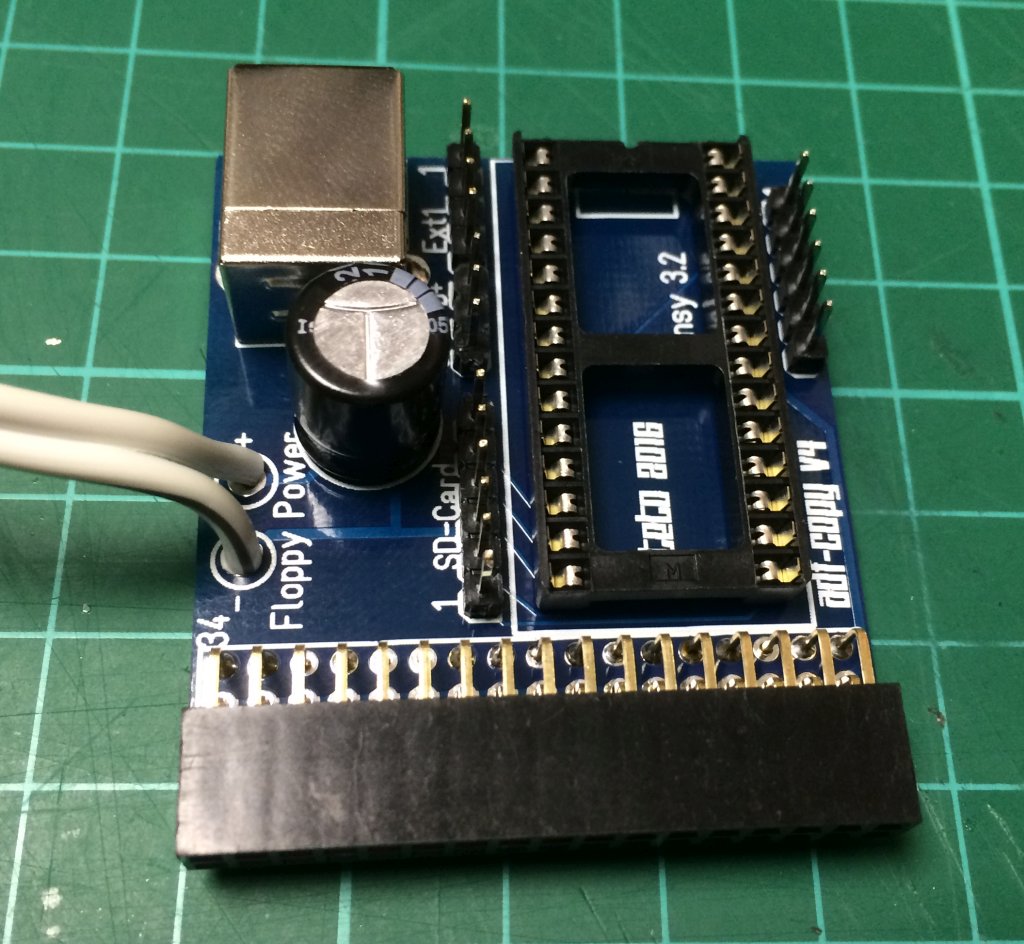
Updated firmware with new features
– Saving settings in EEPROM, timings for the drive can be adjusted and saved.
– Several bugfixed and new functions for the updated frontend.
– This firmware works with ADF-Copy PCB v3 & v4 and the breadboard layout.
I bought some old DRAM Chips from Ebay for the repair of an Amiga, so i looked for a way to test those chips to know if they are in working order before putting them in the board. There are some chip testers available on the market but i thought i could build one myself and maybe use it for testing other kinds of chips later by expanding on the code.
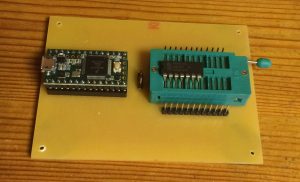
So here is my first try on a chip tester for TMS4464 / NEC 41464 and other compatible chips, those are 64k x 4 Bit organised, DIL18 case. I had some Teensy 3.2 and a 24 pin ZIF Socket in my storage, so i did a quick layout and etched a pcb. The schematic is quite simple, each connection of the ZIF Socket is connected to some header pins and the GPIOs of a Teensy 3.2 (since the Teensy is 5V tolerant), additionally i added 3 pins with GND, 5V and 3,3V to supply power to the chip with some jumper wires. Since i wanted it as versatile as possible you have to use the jumpers, but be carefull, the Ram chips have GND and VCC exchanged compared to 74xx TTL Chips. I recommend reading the datasheet of a chip before connecting it. Sadly i had no easy accessible GPIOs left to make the powersupply for the chip switchable in software, so i always have to power down the teensy to change chips, nobody is perfect. :)
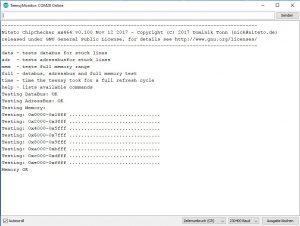 The first firmware can test the Databus, Adressbus and the complete Memory for errors.
And yes, that is a 7404 in the picture, i tried my pcb on a cheap chip first before trying on out of production drams.
Have fun! Please leave a comment if you build one yourself, have suggestions or improvements on the source.
New Version available, some new features.

Updated firmware with new features – Filedates and error blinkcodes
Changes
New Version available, only bugfixes.

ADF-Drive Firmware with USB MTP Filesystem and Image support
This firmware has the same functionality as the ADF-Copy Firmware 0.9xx plus the new USB Drive features
Severe bugs fixed:
Cosmetic changes:
I made some progress with the ADF-Drive firmware, now with Amiga Filesystem Support included, you can access the Amiga Disk like a usb thumb drive. It should be fully compatible with the ADF-Copy Application. There will be a new version soon.
Working:
Not (yet) working:
Bugs: perhaps some you will discover, so always use write protect on your important disks.
Important things:
You can find the new experimental Firmware „ADF-Drive 0.621“ in the download section, have fun!
Lange war es Still um ADF-Copy, nun habe ich in meinem Urlaub die Zeit gefunden die Firmware etwas weiter zu entwickeln und es ist ADF-Drive bei rausgekommen. Und das schöne ist, sie läuft auf der vorhandenen ADF-Copy Hardware!
ADF-Drive ist die Erweiterung um ein USB Speicherinterface was das Media Transfer Protokoll benutzt (MTP), dieses wird in der Regel von Handies,
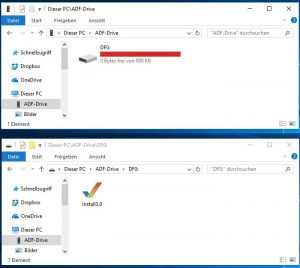
Kameras und MP3 Playern benutzt und ermöglicht den Zugriff auf Dateien mit einem universellen Dateisystem was nicht Betriebssystem spezifisch ist. MTP wird von Windows ab Vista (und XP mit Media Player 10 update), MacOS, manchen Linux Versionen die libmtp installiert haben. Ich habe gelesen es gibt auch für AmigaOS einen Treiber, aber da beißt sich die Schlange in den eigenen Schwanz ;)
Die neue Firmware stellt ein Laufwerk zur Verfügung das sich formatieren lässt und mit Drag & Drop ADF Dateien von der Diskette erzeugen kann, aber auch auf eine Diskette schreiben kann. Die ADF-Datei wird einfach auf DF0: gezogen und der Schreibvorgang beginnt, bitte nicht auf das Icon von ADF-Drive ziehen, sonst gibts Murks beim schreiben. Wenn man im DF0: Verzeichnis ist muss man ggf. F5 drücken damit der Diskettenname aktualisiert wird.
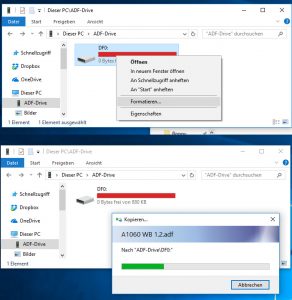 Die Funktionalität das es sich auch von der App steuern lässt ist weiterhin vorhanden, nur man sollte nicht beides gleichzeitig versuchen, das kann zu ungewollten Ergebnissen führen.
Die neue Firmware findet sich wie immer im Downloadbereich.
In den letzten Wochen hab ich ein wenig mit dem ESP32 rumgebastelt, dies ist ein Mikrocontroller mit 2 CPUs, ne Menge RAM und integrierten WiFi. Mittlerweile läuft die ADF-Copy Firmware auf dem kleinen Ding :)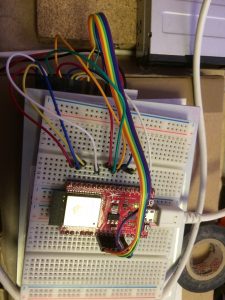
Verkompliziert wurde die Portierung durch mehrere Faktoren:
Bisherige Lösung ist es alles von Hand zu machen ohne Interrupts zu benutzen, ist nicht schön aber bisher die einzige Lösung die ich gefunden habe.Grob gesagt mache ich folgendes:
Hiernach wird der Streambuffer anhand der gemerkten Sektoranfänge decodiert.
Ähnlich läuft das schreiben ab, bloss das ich dort ständig den Timer auslese ob 4µs (2µs bei HD) vergangen sind und ich das nächste Bit schreiben kann.
Ich hab noch nicht geprüft ob die WiFi Verbindung dadurch abbricht da ich den ESP32 für 200ms „dumm“ stelle, aber erstmal mussten die Grundfunktionen laufen.
Ziel ist es ein Standalone Gerät zu haben auf das man mit einem Webbrowser zugreifen kann um ADFs zu lesen/schreiben, Disketten formatieren, vielleicht sogar einen FTP Server drauf laufen zu lassen.
Mal sehen wie weit ich komme.